Templates and styling
Templates are just regular notebooks, styled using hidden JavaScript or HTML cells. You can call them from the command line or the top-bar menu.
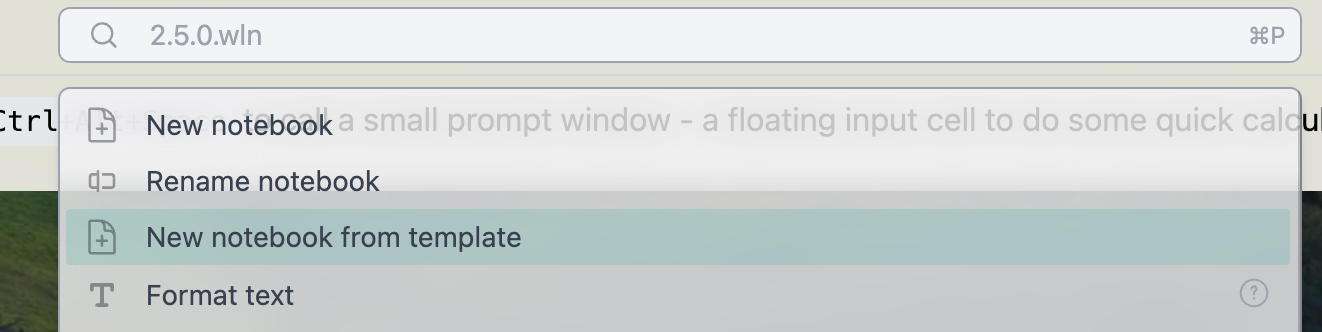
There are several built-in templates for you to try. Note that if an attachments folder is found, it will also be copied, allowing your template to include uploaded images or other files.
Structure
All user templates are stored in:
<Documents>/WLJS Notebooks/UserTemplates
All built-in templates are stored in:
AppData/wljs-notebook/wljs-packages/wljs-templates/Library/*
If your template notebook contains attached images or other files, it must be placed in a separate directory. When you create a new notebook using such a template, all files in the attachments folder will also be copied to your project directory.
The file name will be used as the title in the template list.
The first 1-2 cells usually contain styles that override the system CSS or JavaScript code or include a banner image. Depending on your needs, you can completely hide the first cells using the Vanish button.
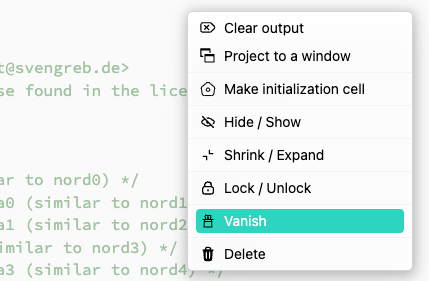
Vanish makes a cell invisible and uneditable, but its output will still be injected into the DOM. Therefore, all CSS and JS can be placed there. You can see and edit such cells in Expert mode (see Settings).
Another option is to use the Lock and Hide properties if you need the output to remain visible but want to make the cell uneditable and impossible to focus on.

Example
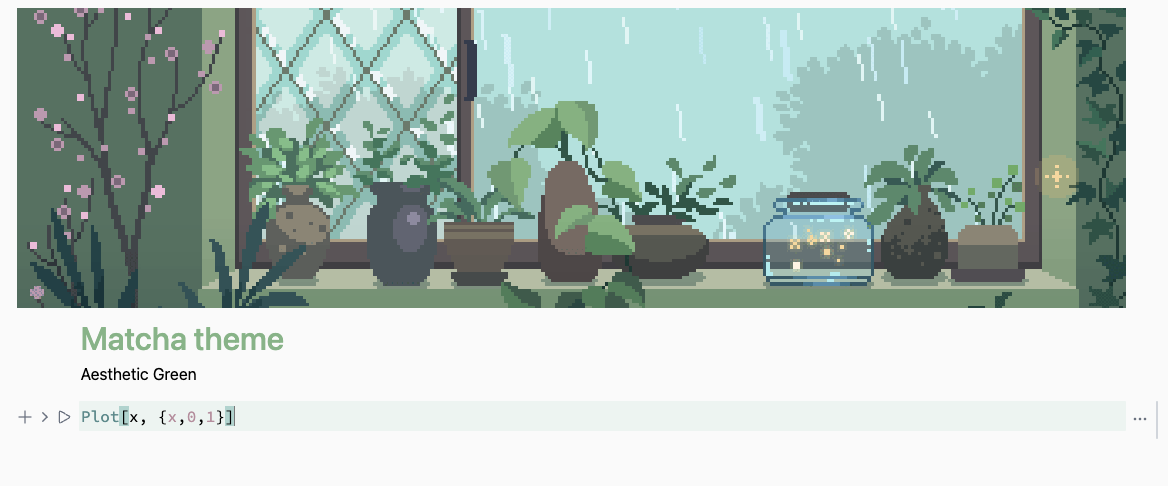
Let's take a look at the built-in Matcha template. Follow these steps to reproduce it:
- Create a new empty notebook.
- Create an
.htmlcell with the following content:
<style>
 /*
 * Copyright (c) 2016-present Sven Greb <development@svengreb.de>
 * This source code is licensed under the MIT license found in the license file.
 */

:root {
  --matcha0: #fafafa; /* Lightest background (similar to nord0) */
  --matcha1: #f0f0f0; /* Slightly darker than matcha0 (similar to nord1) */
  --matcha2: #e5e5e5; /* Slightly darker than matcha1 (similar to nord2) */
  --matcha3: #939393; /* Dark gray for contrasts (similar to nord3) */
  --matcha4: #868686; /* Slightly darker than matcha3 (similar to nord4) */
  --matcha5: #787878; /* Slightly darker than matcha4 (similar to nord5) */
  --matcha6: #4d4d4d; /* Darkest background (similar to nord6) */
  --matcha7: #9ecb8e; /* Unchanged (Matcha accent similar to nord7) */
  --matcha8: #87c0a8; /* Unchanged (Matcha accent similar to nord8) */
  --matcha9: #5e8a8b; /* Darker for better contrast (similar to nord9) */
  --matcha10: #4c7873; /* Darker for better contrast (similar to nord10) */
  --matcha11: #88b388; /* Replaced red with a greenish hue */
  --matcha11r: #d85f5f; /* Unchanged (Matcha accent similar to nord11) */
  --matcha12: #a2c3a2; /* Replaced red with a lighter greenish hue */
  --matcha13: #ebd28b; /* Unchanged (Matcha accent similar to nord13) */
  --matcha14: #a3be89; /* Unchanged (Matcha accent similar to nord14) */
  --matcha15: #b48e9d; /* Unchanged (Matcha accent similar to nord15) */
  color: black; /* Text color for light mode */
}

body {
  background: var(--matcha0);
}

@media (prefers-color-scheme: dark) {
  body {
    background: var(--matcha5);
  }
}
</style>
- Evaluate the cell.
- Set the cell to
Hidden, then applyVanish. - Create an
.mdcell for a banner image and insert an image using inline styles if needed:
<img src="/attachments/0a12e130650543cf5b165a008d1604e3.gif" style="width: 100vw; object-fit: cover; image-rendering: pixelated; height: 300px"/>
- Evaluate it, make the input cell
Hidden, and then applyLockto prevent editing. - Save your notebook.
- Move your notebook and
attachmentsfolder to<Documents>/WLJS Notebooks/UserTemplates/NewFolder/. - Restart the app and check your template in the command palette.